6 Easy Steps to Roast and Brew Your Best Coffee
Roast, Brew, Repeat
You will roast green beans and brew BOLD coffee at home. Simple steps. Clear tools. Each step builds on the last. You will taste the change today and enjoy more.
Tools and Notes

How to Make Coffee Like a Pro: The Ultimate Guide
Choose and Store the Right Beans
Want fresher flavor? Your bean choice writes the story.Choose green beans that match your taste.
Pick light for floral notes. Pick dark for sugar and smoke.
Buy small lots. Check roast date on pre-roasted packs.
Store green beans in a cool, dry jar. Keep out of light and heat.
Weigh your beans before you roast. Use a scale. Note moisture and size; these change roast time and flavor.
Roast small batches first. Watch smoke, watch cracks, watch color. Act on signs: lower heat, raise heat, or stop the roast. Record each roast. Taste raw beans and smell them.
Expect first crack near the end.
Set Up and Control Your Roast
Small heat shifts change taste. Ready to listen to cracks?Preheat pan or drum to a stable temp.
Aim for steady heat.
Add beans in one quick move.
Stir or keep air moving to roast evenly.
Watch as heat lifts water and beans swell.
Notice sugars browning and color changing.
Listen for first crack and mark the time.
Lower heat after first crack for a light roast.
Raise heat for a darker roast but avoid burn.
Use a thermometer and keep a timer.
Note time to first crack and total roast time.
Repeat small shifts, compare batches, and adjust grind and dose.
Try 200 g; first crack near 6–9 min.
Cool, Rest, and Store with Care
Let them rest. You will taste the difference in three days.Cool beans fast when roast ends. Spread them on a tray. Stir to move air. Stop heat. Pull heat away. Cool rapidly to free flavor.
Rest beans. Let them release gas. Wait at least twelve hours. Aim for twenty‑four for peak depth. Grind after rest. Keep batches small. Let fresh roast settle.
Store beans in an airtight jar. Use glass. Keep in a cool, dry place. Avoid the fridge, light, and heat. Label jars with date, roast level, and roast time.
Taste at day 1, day 3, and day 7 to learn the curve. Try 200 g, rest 24 h, taste.

Grind to Match Your Brew
Wrong grind ruins the cup. Want clarity or body?Match grind size to brew. Use coarse for French press. Use medium for drip. Use fine for espresso.
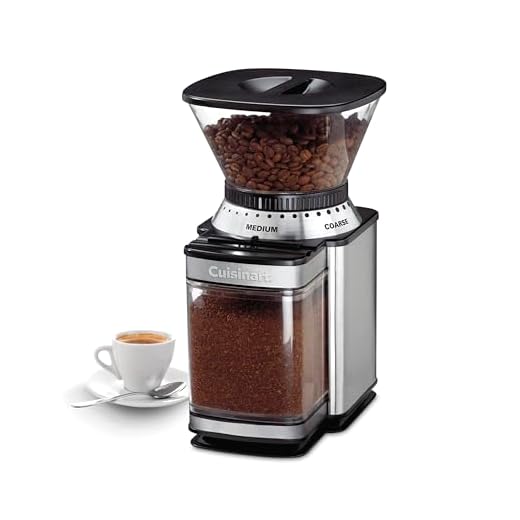
Use a burr grinder. Set dose and grind by weight. Weigh coffee and water. Start at 1:15 and adjust to taste.
Grind just before brew. Aim for uniform particles for clean flavor. Use finer to raise strength. Use coarser to lighten body. Note extraction time. Aim for syrup, not ash.
Flush and clean your grinder. Write your dial, dose, and time. Repeat with each roast. Cup, judge, and change again daily.
Master Brewing: Water, Heat, and Pour
Pour like a surgeon. One pour can flip the cup.Use clean water. Heat to 195–205°F. Aim for 93°C. Pre-wet your filter. Bloom grounds with a small pour. Wait 30–40 seconds. Pour in slow circles. Keep water level steady. Use scale and timer. Use 1:15–1:17 as a start (try 1:16). Taste each cup. Change grind, dose, or time to fix faults. Keep recipes. Test one change at a time. Train your hands by practicing a steady spiral pour.
Note ratio and temp daily.

Taste, Log, and Improve
Score, tweak, repeat. Turn taste into skill.Taste with purpose. Smell first. Sip and slurp to wake your palate. Note acidity, body, sweetness, and aftertaste. Use simple words you can repeat. Compare batches side by side. Change one thing at a time: roast longer, roast shorter, grind finer, grind coarser, change water temp, change dose. Note the shift.
Log the basics and score each cup.
Aim for balance. Fix flaws with small moves. Trust your palate. Repeat with new beans. Share with friends and teach them to taste. Review logs weekly. Plan one change per week. Stay curious.

Make Better Coffee Daily
You roast and brew with care. Start small. Keep notes. Taste daily. Change one thing at a time. You will improve fast. Try it. Share your results. Act now today.
 Previous Post
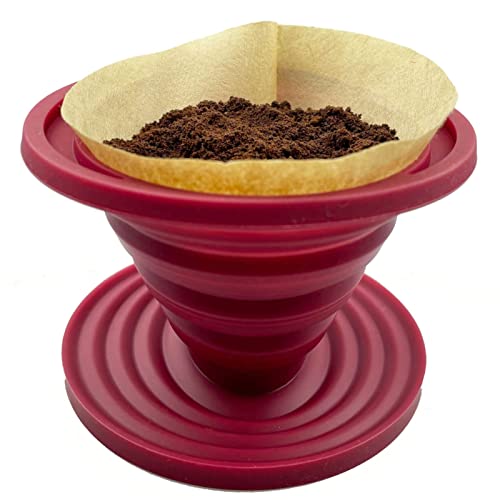 Next Post
Loved this guide — super approachable and actually usable!
I especially liked the “Roast, Brew, Repeat” frame. Made me feel like I can experiment without breaking anything.
Quick question: for step 3 (Cool, Rest, and Store with Care) do you all wait 48 hours for a city roast? Or is 24 fine if I’m impatient 😂
Also, the bit about logging flavors in step 6 is gold. I’m finally writing down notes instead of relying on memory.
Great question, Laura — glad the guide helped! For a city/light roast I usually rest 24–48 hours before brewing to let CO2 mellow a bit. For medium roasts 24 hours is often fine. Dark roasts can be brewed sooner but sometimes benefit from 48 hours. Trust your nose and taste — that’s the real signal.
I do 36 hours on average. If I’m in a rush I’ll brew at 24 but lower the water temp slightly. Works for me.
I keep mine in a breathable paper bag for the first day, then into an airtight jar with a one-way valve. Helps with degassing and keeps the beans happy 🙂
Also depends on bean origin — really fruity Ethiopians sometimes need the extra rest for flavors to settle. Don’t be shy to experiment!
Solid guide and the brew step breakdown is practical, but two suggestions:
1) In Step 5 (Master Brewing) I’d love to see more on target water TDS and how that affects extraction. A short note on using a TDS meter would help hobbyists level up.
2) In Step 6, encourage people to record their pour profiles (timing, pulse pour schedule). I keep tweaking my bloom and pulse and small changes make big differences.
Overall — great primer for someone moving from store-ground to roasting at home.
Excellent suggestions, Robert. I’ll add a short section about water composition (TDS) and how it affects extraction, plus a sample pour profile people can copy. Thanks for the specifics — very actionable.
Agreed on the TDS note. I was surprised how much difference my local water made until I started using filtered water at about 70 ppm. My pours became more consistent.
For pour profiles I do 30s bloom with 30g water then follow-up pulses every 20–30s. Works well for medium roasts.
Nice walkthrough but I was hoping for more specifics on control during roasting.
Like: what temp ranges should I target for first crack? And any tips for drum vs. air roaster heat adjustments? The guide was a bit high-level here, imo.
Good point, James. Short answer: first crack usually happens around 196–205°C (385–401°F) but that varies with roast size and machine. Drum roasters build heat more slowly and you adjust airflow + drum speed; air roasters rely more on airflow and charge temp. If you want, I can add a small table with typical temps and visual cues to the guide.
I have a small home drum roaster — slower ramp, so I watch bean color and listen for sound rather than obsessing over exact temps. Visual cues + logging fixed things for me.
This guide made me actually enjoy roasting at home for the first time 😊
Two tiny things I changed: coarser grind for my Chemex and a slightly lower pour temp (just 2°C less) — sweeter cup! Also, store beans in a cool dark place, not the fridge (learned that the hard way 😅).
Same here — dropping a couple degrees fixed the bitterness for me. Chemex loves patience and bigger grind!
Awesome, Nina — glad the guide helped. Yep, fridge storage is a common trap (moisture + smells). Cool dark place or an airtight jar is best. Lowering temp for Chemex is a known trick for sweetness — nice observation.
Finally, someone telling me to keep a taste log. I named mine “Coffee Confessions” lol.
Quick tip: write one line about mood ☕️ + one line about grind size (mm or guess) — helps you spot that weird day when you accidentally used espresso grind for pour-over.
Also, pro tip: don’t try to roast and drive. Learned that the hard way. 😂
Love the name — Coffee Confessions! Adding mood is brilliant; flavor perception does change with sleep, mood, time of day. Thanks for sharing.
If you ever want a template for a tasting log, I made a simple Google Sheet with fields for roast date, rest time, grind, water temp, and flavor notes. Happy to share tips.
If you’d like, I’ll add a downloadable tasting log template to the article. Seems like multiple people would use that!
Haha, “roast and drive” is a vibe. I once forgot to turn the roast fan on — my smoke alarm was NOT impressed. Learn from my mistakes 😂
Mood + cup time is a big one. I realized I prefer brighter coffees in the morning and heavier in the afternoon — logging made that obvious.